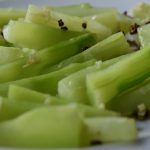
I have to confess I am a kimchi fanatic. In fact, lately I have been experimenting quite a bit with making different fermented vegetables and fruit after reading The NOMA Guide to Fermentation by Rene Redzepi and the team at the Nordic Food Lab. I hope to begin posting some of my experiments that have been inspired by NOMA and have ideas about fermenting tropical Asian fruits like lychee, mangosteen, and jack fruit. I may even attempt to make my own fish sauce if I can figure out how to do so without provoking the ire of my neighbors. I am also working on expanding my repertoire of pao cai (泡菜) or Chinese pickled vegetables. Of particular interest is pickled Kohlrabi from Yunnan which I have been trying to master since first trying it in Dali nearly five years ago. If anyone has experience fermenting kohlrabi, please let me know.
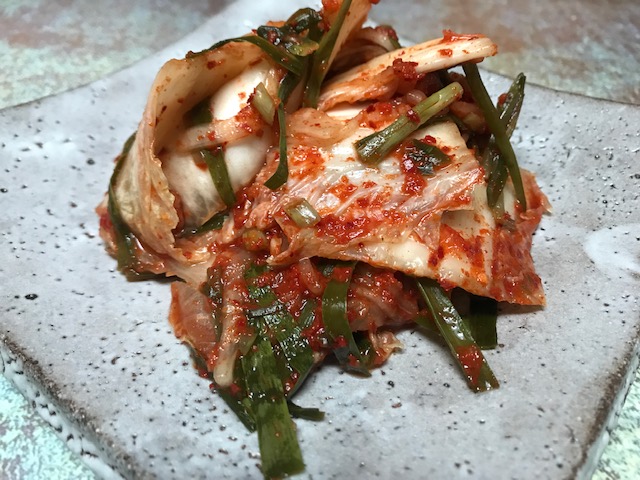
While this isn’t the most authentic version of kimchi and takes some short cuts from the more traditional baechu kimchi or pagi kimchi that uses the whole nappa cabbage, it produces consistent results that take a fraction of the time. I have tried traditional recipes for the whole cabbage version which required up to eight hours to salt the cabbage, but this recipe uses chopped cabbage that only requires two hours of salting to draw out the excess moisture.
I have experimented with quite a few recipes that use a slurry of rice flour and water or oysters or even milk to kickstart fermentation but decided that I would see what would happen if I just relied on fish sauce and it turns out it works well. There is also no need to buy Korean fish sauce if you already have Vietnamese or Thai fish sauce in your refrigerator. In fact, I prefer using Red Boat.
This kimchi is ready to eat almost immediately, but it improves with age. I sometimes keep this for up to two months in my fridge. As the kimchi ages, the fermentation continues which gives the kimchi a sharper more acidic flavor. This flavor is particularly important for making kimchi soups or stews. If you want to eat this as as banchan to accompany several other dishes, you may prefer to use within the first week or two. This recipe makes a lot, about 7 to 8 pounds worth, but if you are going through the trouble, I suggest that you go ahead and make a large batch.
Recipe:
11 cups of water (if using tap water, you may want to let it sit overnight for the chlorine to dissipate)
1 cup of coarse sea salt (I find Korean sea salt that is readily available works best). I have also had luck with kosher salt, but cut the amount in half.
5-6 lbs of Nappa cabbage (~2 medium heads) cut into 1 1/2 inch pieces
1 cup gochugaru (Korean red chili flakes)
1/2 cup fish sauce
3 tablespoons minced garlic
2 teaspoons minced ginger
1 Asian pear, cored and grated
2 bunches of Korean chives (about 2 cup worth) cut into 1 1/2 inch lengths. Substitute green onions if you can’t find Korean chives
1. Dissolve the salt in the water in a large bowl. Submerge the cabbage in the brine, making sure that it is all submerged. You may need to use a weight or another bowl on top to make sure that the leaves stay submerged. Allow the cabbage to soak in the brine for two hours.
2. While the cabbage is soaking, mix the gochugaru, fish sauce, garlic, ginger, and pear in a large bowl that is big enough to also hold all of the cabbage. Fold in the Korean chives.
3. Rinse the cabbage under tap water and squeeze gently. I usually do this three times to make sure that I get most of the salt out. Squeeze out any excess moisture and fold the cabbage into the large bowl with the mixture from step two.
3. Using gloved hands, mix everything together well. Place some plastic wrap on top of the mixture and press down to remove any excess air. At this point you want to minimize air contact. Cover with a tight fitting lid and let the mixture sit on your kitchen counter for a day or two to begin fermenting. The warmer your kitchen, the quicker it will ferment. Check every day to see if there are any signs of fermentation (small bubbles, vinegary smell). Once it starts to ferment, place the mixture in your refrigerator to allow it to continue to ferment. You should occasionally check on it and open the lid to let any excess gas out. As it ferments, it will release carbon dioxide.
4. The kimchi is ready to eat after you initially put it in your refrigerator, but the flavor will improve if you wait at least a week.